
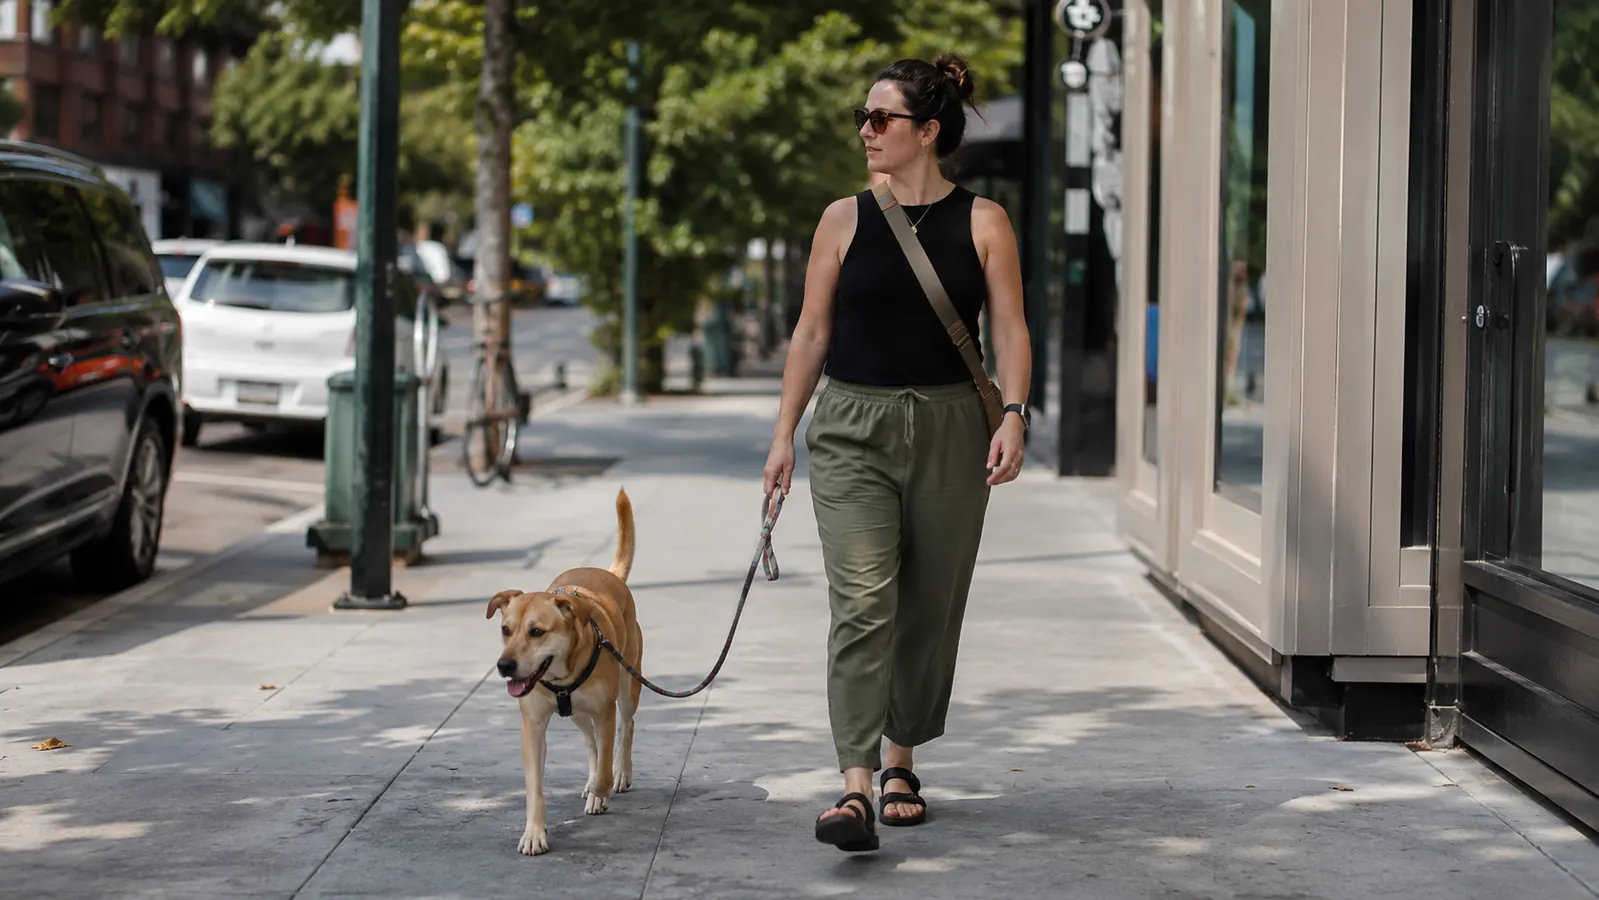
Last July I walked Penny across a parking lot without thinking twice, and about four minutes in she stopped dead and refused to take another step. I looked down at her paws and could feel the heat radiating off the asphalt even from my standing height. Her front right pad had a faint raw patch forming. We turned around immediately, and that two-minute mistake cost us a week of shortened walks while the pad healed. I should have known better. I spent six years as a vet tech and had seen pad burns plenty of times. But it is easy to underestimate how fast asphalt heats up when you are not the one standing on it. That parking lot is the reason I now keep a tin of Musher's Secret paw wax by the door and treat paw protection as a year-round routine, not a winter afterthought.
The same problem happens in reverse every winter. Road salt and ice-melt chemicals are corrosive, and they work into the small cracks that dry winter air already opens in a pad. I watched it happen to Otis his first winter in our current neighborhood, which has aggressively salted sidewalks. By February his front pads looked like cracked leather and he was licking them constantly, which made things worse. Since then I have built a simple routine around protecting their paws before and after every walk, and the difference has been significant. Here is exactly what I do, step by step.
If your dog's pads are already showing cracks, Musher's Secret is the wax I apply before every walk in summer heat and winter salt.
It forms a breathable, lick-safe barrier on the pad surface. One tin lasts two dogs about three months of daily use.
Amazon Check Today's Price on Amazon →Step 1: Do the Seven-Second Pavement Test Before Every Walk
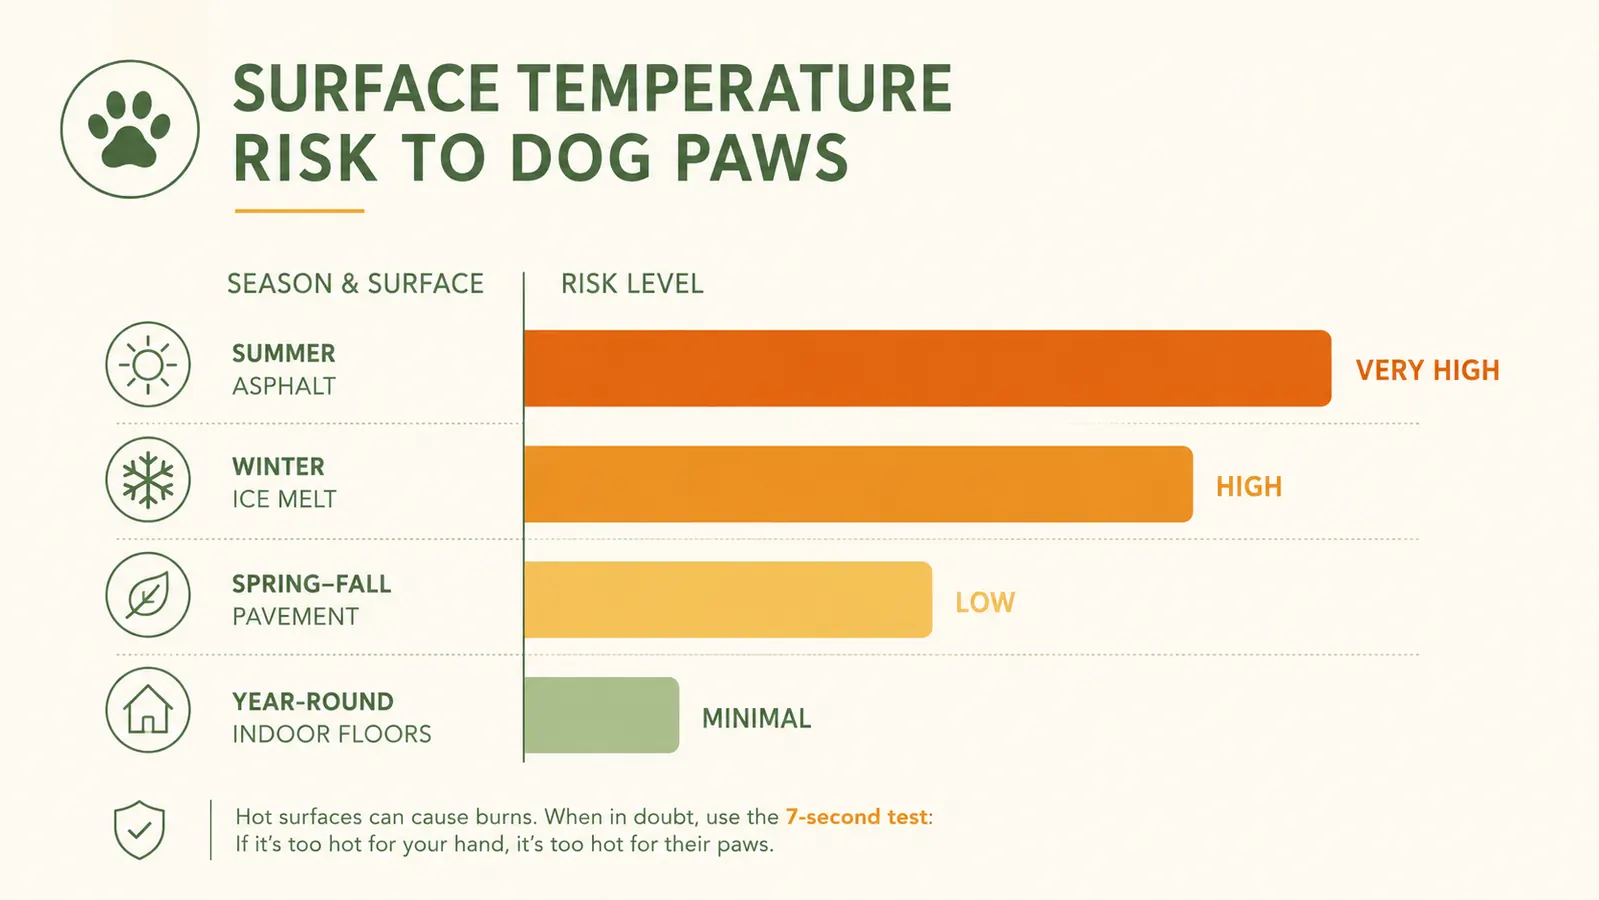
Place the back of your hand flat on the pavement and hold it there for seven seconds. If you cannot keep it there comfortably for the full seven seconds, the surface is too hot for your dog to walk on safely. This is not a guideline I invented. It was drilled into me during vet tech training and it holds up. Asphalt can reach 140 to 160 degrees Fahrenheit on a 90-degree day, and paw pad burns can develop in under a minute on surfaces that hot.
In winter, the test is different. You are checking for ice-melt product residue, which shows up as a white crystalline crust on the pavement surface. If you see it, assume the sidewalk has been treated heavily and plan for post-walk rinsing. You should also check the local forecast for wind chill. Below about 20 degrees Fahrenheit, even dogs with healthy pads can develop frostbite on the tips of their toes within 15 to 30 minutes, especially small breeds and short-haired dogs.
This step costs nothing and takes about ten seconds. I do it every single time now without thinking about it, the same way I check that I have my phone before leaving the house. If the pavement fails the test in summer, I shift our walk to early morning or after 7 pm, or I stick to grass and shaded paths. In winter, I time walks for midday when temperatures peak, and I keep them shorter on days when the wind is brutal.
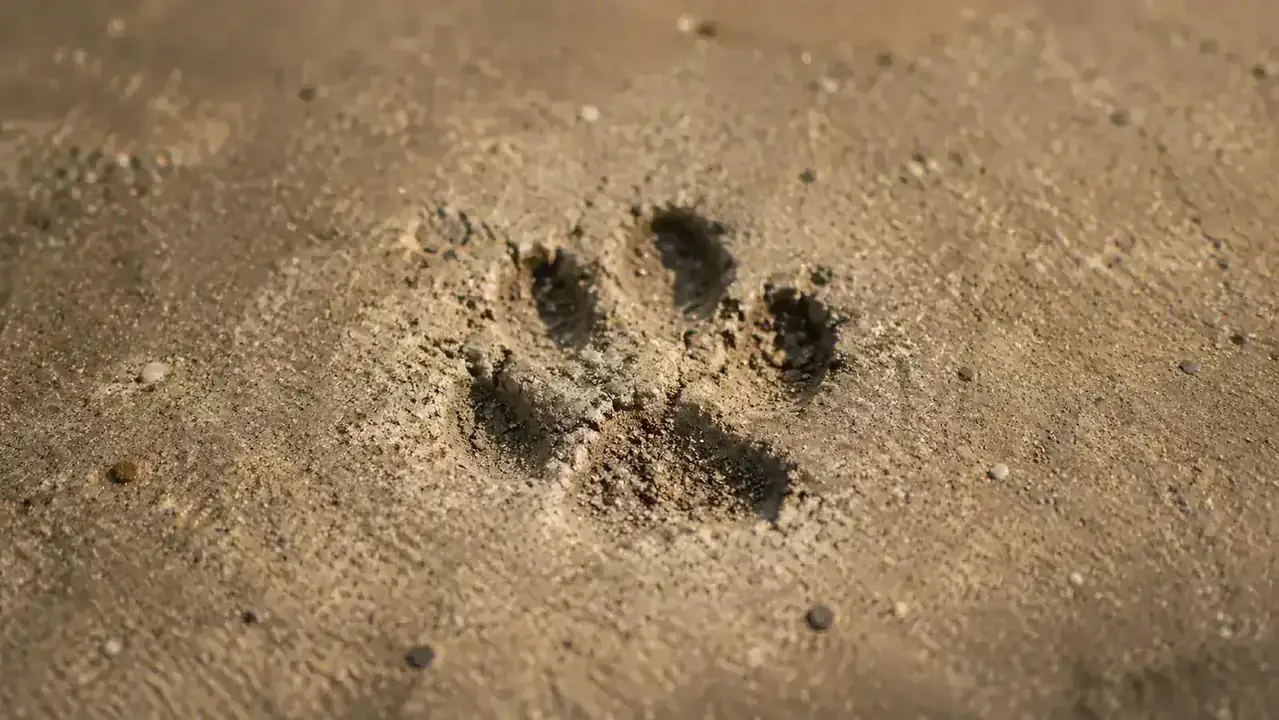
Step 2: Clean and Dry the Paws Before Applying Any Product
Before you protect, you need a clean surface to protect. Wax applied over dirt or existing salt residue traps debris against the skin and can actually worsen irritation. I use a damp cloth or a dedicated paw-wipe to clean each pad and between the toes, then pat dry with a small towel. This matters more in winter than summer, because salt residue from a previous walk can remain on the paw if you did not rinse thoroughly after that walk.
For Otis, whose beagle paws are wider and have more skin folds between the toes, I take an extra 30 seconds to run a folded cloth through each toe gap. That fold is where salt and ice-melt residue accumulates and causes the most irritation. Penny, being a lab mix with tighter paw structure, is quicker. Together they take maybe two minutes to clean and dry before a walk. That time investment has paid off far more than any supplement or product I have tried.
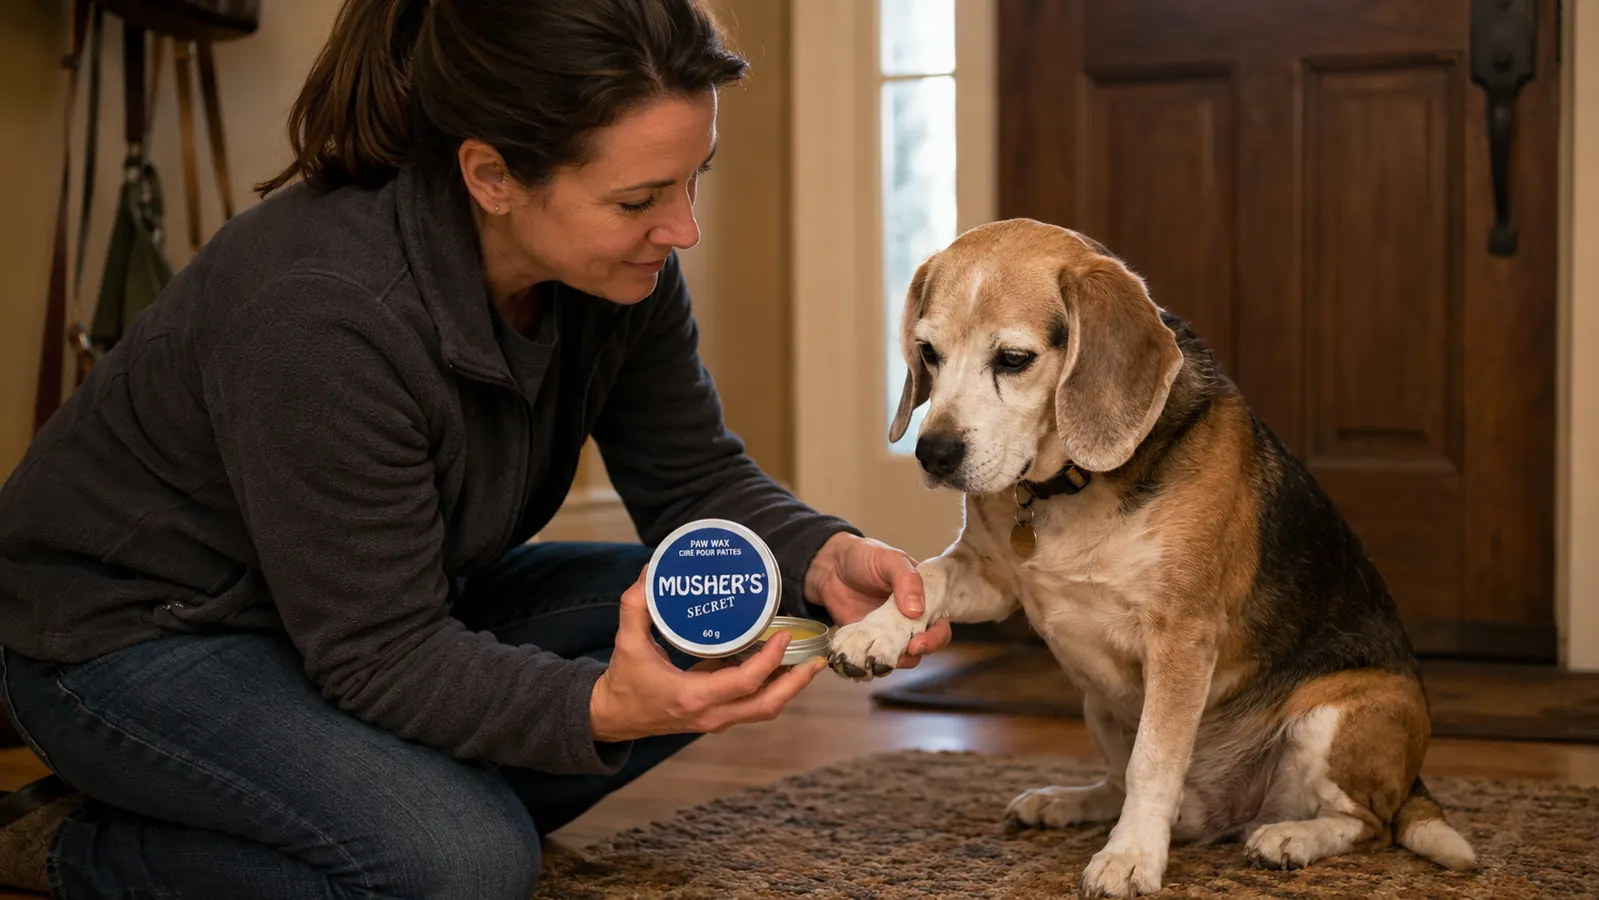
Step 3: Apply a Thin Layer of Musher's Secret Before the Walk
Musher's Secret is a wax-based balm, not a cream or lotion. The consistency is similar to a firm lip balm or a candle wax. You scoop a small amount with your finger and work it into each pad with a light massaging motion. You do not need much. For a dog the size of Penny, about 65 pounds, I use roughly a pea-sized amount per paw. For Otis at 28 pounds, slightly less. The wax melts on contact with body heat and spreads evenly.
The mechanism is straightforward: the wax creates a thin breathable barrier between the pad and whatever the dog is walking on. In summer, it reduces direct heat transfer from hot surfaces. In winter, it keeps ice-melt chemicals from soaking directly into the pad tissue and repels moisture that would otherwise accelerate cracking. It is not a miracle barrier. If you put your dog on 160-degree asphalt, wax will not save them. But for normal-temperature pavement that is warm but passable, it makes a real difference in how the pads hold up over time.
The formula is listed as lick-safe, which matters because dogs almost always lick their paws after a walk. I watched Penny do exactly that the first time I applied it and decided to look into the ingredient list. It uses a blend of food-grade waxes and Vitamin E. I have never seen either of my dogs show any reaction from incidental licking. That said, if your dog has a history of food sensitivities or skin allergies, it is worth checking the ingredients before the first use, same as any new product.

Step 4: Wipe and Rinse the Paws Thoroughly After Every Walk
This step matters as much as the pre-walk application, and it is the step most people skip. After a winter walk on salted pavement, road salt stays on the paw until you remove it. Every minute it sits there, it is working on the pad surface. And when your dog licks their paws, which they will, they are ingesting whatever is on them. Some ice-melt products use calcium chloride, magnesium chloride, or potassium chloride, none of which are things your dog should be consuming in quantity.
My post-walk routine is simple. I keep a small plastic bin with an inch of lukewarm water by the back door in winter, and I dunk each paw for about five seconds before patting dry with a dedicated towel. In summer, after a normal walk on clean pavement, I skip the bin and just wipe each paw with a damp cloth. The bin comes out specifically for days I know the sidewalks have been treated. Otis tolerates it reasonably well. Penny, who is dramatic, acts like it is a personal offense every time, but she is fine two minutes later.
Road salt stays on the pad until you remove it. Every minute after a winter walk that you skip the rinse, the chemicals keep working on your dog's skin.
Step 5: Inspect the Pads Regularly and Reapply Wax as Needed
You cannot protect what you are not looking at. I do a full paw inspection once a week during the summer and twice a week during winter, which is the higher-wear season for pads. I am looking for four things: cracking along the edges of the pads, redness or rawness in the pad tissue, swelling or tenderness between the toes, and any cuts or foreign objects lodged in the toe folds. Otis, being older and walking on harder surfaces less than he used to, still develops small cracks along his front pad edges during dry winters. Catching them early and reapplying wax keeps them from deepening.
If you spot a pad that is cracked but not yet bleeding, consistent daily wax application for a week usually resolves it. If the pad is bleeding, swollen, or your dog is limping or strongly favoring one leg, that is a vet call, not a home-care situation. Pad injuries that get infected can escalate quickly, and the tissue on a paw pad does not heal the same way skin on the body does because it takes constant mechanical stress just from normal walking. Better to have a vet look at it than to wait and see.
Reapplication frequency depends on conditions. During a normal week in moderate weather, I apply Musher's Secret every two to three days. During high-heat summer stretches or weeks with heavy road salting, I apply before every single walk. One 60-gram tin has lasted me about three months applying to two dogs in normal conditions, longer in summer. I keep a tin by the back door so it is always in reach before we head out.
What Else Helps Protect Paws Year-Round
Wax covers the most ground for most dogs, but there are a few other things worth doing alongside it. Dog boots are the single most effective physical barrier you can put between your dog's paws and a damaging surface. The challenge is getting your dog comfortable wearing them, which takes patience and positive reinforcement over several sessions. I tried boots on Otis during his worst winter two years ago, and he did eventually tolerate them for short walks. Penny, for reasons I have never fully understood, accepts them without complaint. For dogs who will wear them, boots are the best protection available for extreme conditions.
Walk timing is a free tool that requires no product at all. In summer, avoid 10 am to 6 pm on hot days. Early morning walks before 8 am keep pavement temperatures in a safe range even when the air temperature is high, because asphalt has cooled overnight. Grass and dirt paths stay much cooler than asphalt and concrete. I route our midday summer walks through any park or grassy area I can find, even if it adds a few minutes to the walk.
Trimming the fur between and around the toes also helps more than most people realize. Long fur in that area collects ice balls in winter, which can cause frostbite and significant discomfort. It also traps salt, debris, and moisture. I use a small pair of blunt-tipped scissors to keep Otis's toe fur short through winter. Penny, being a lab mix, has shorter natural fur there and does not need as much attention. If you are uncomfortable doing this yourself, ask your groomer to include it in the next appointment. Most will do it at no extra charge.
The wax I reach for before every walk in any season is Musher's Secret. It applies in under a minute and has held up for three seasons on two dogs.
Apply before walks to protect from heat and salt, and reapply after inspection if cracks are forming. One tin lasts months at normal use.
Amazon Check Today's Price on Amazon →