
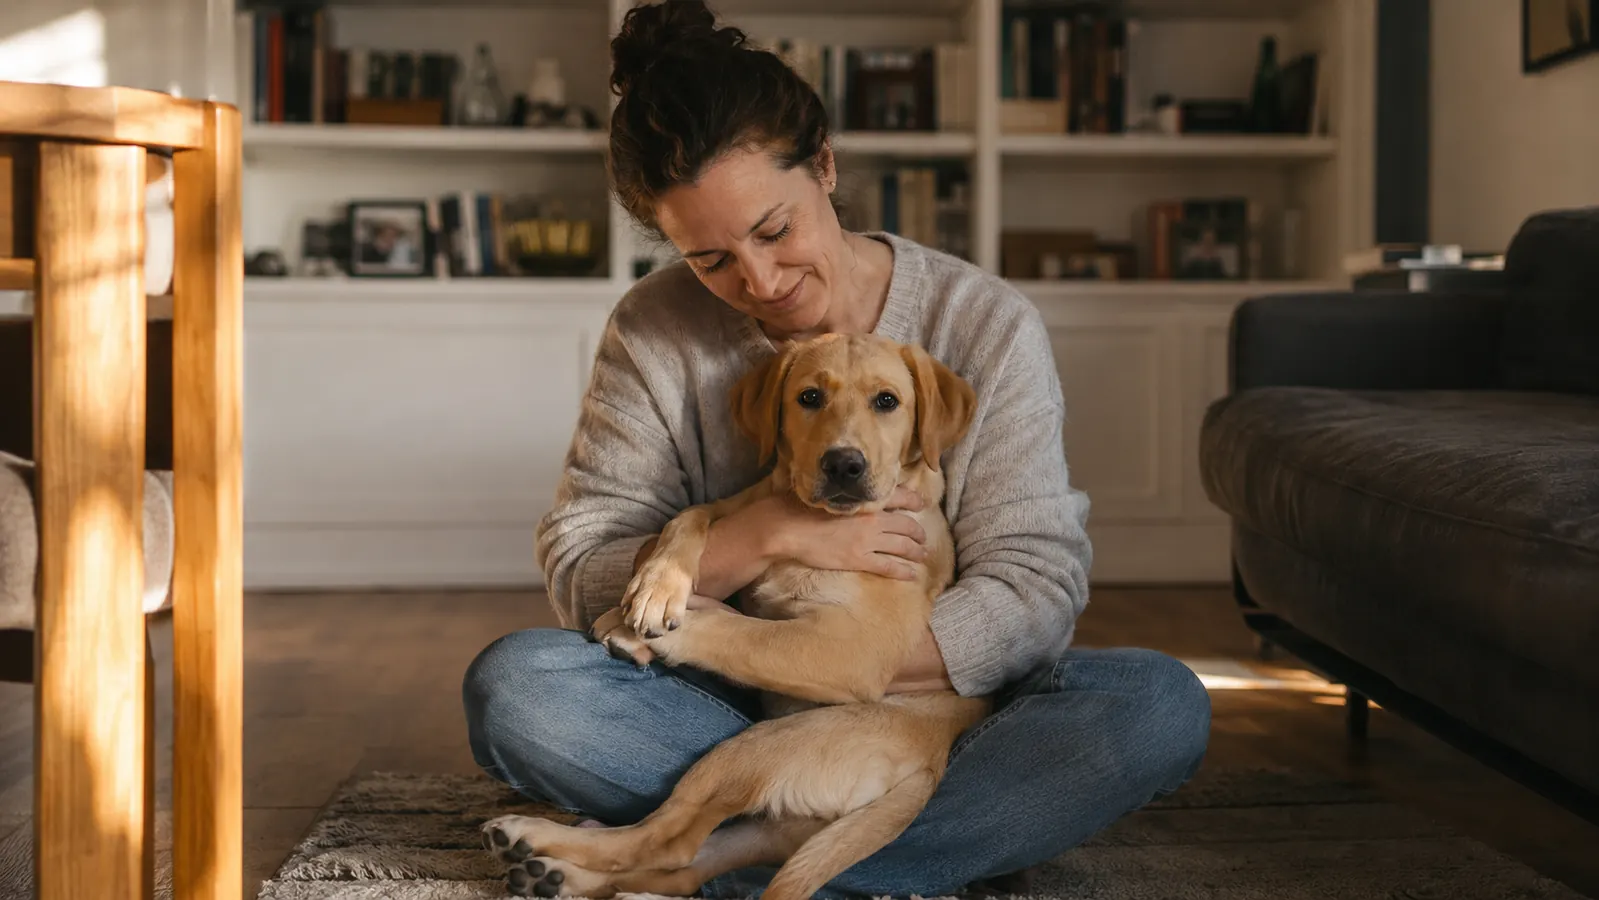
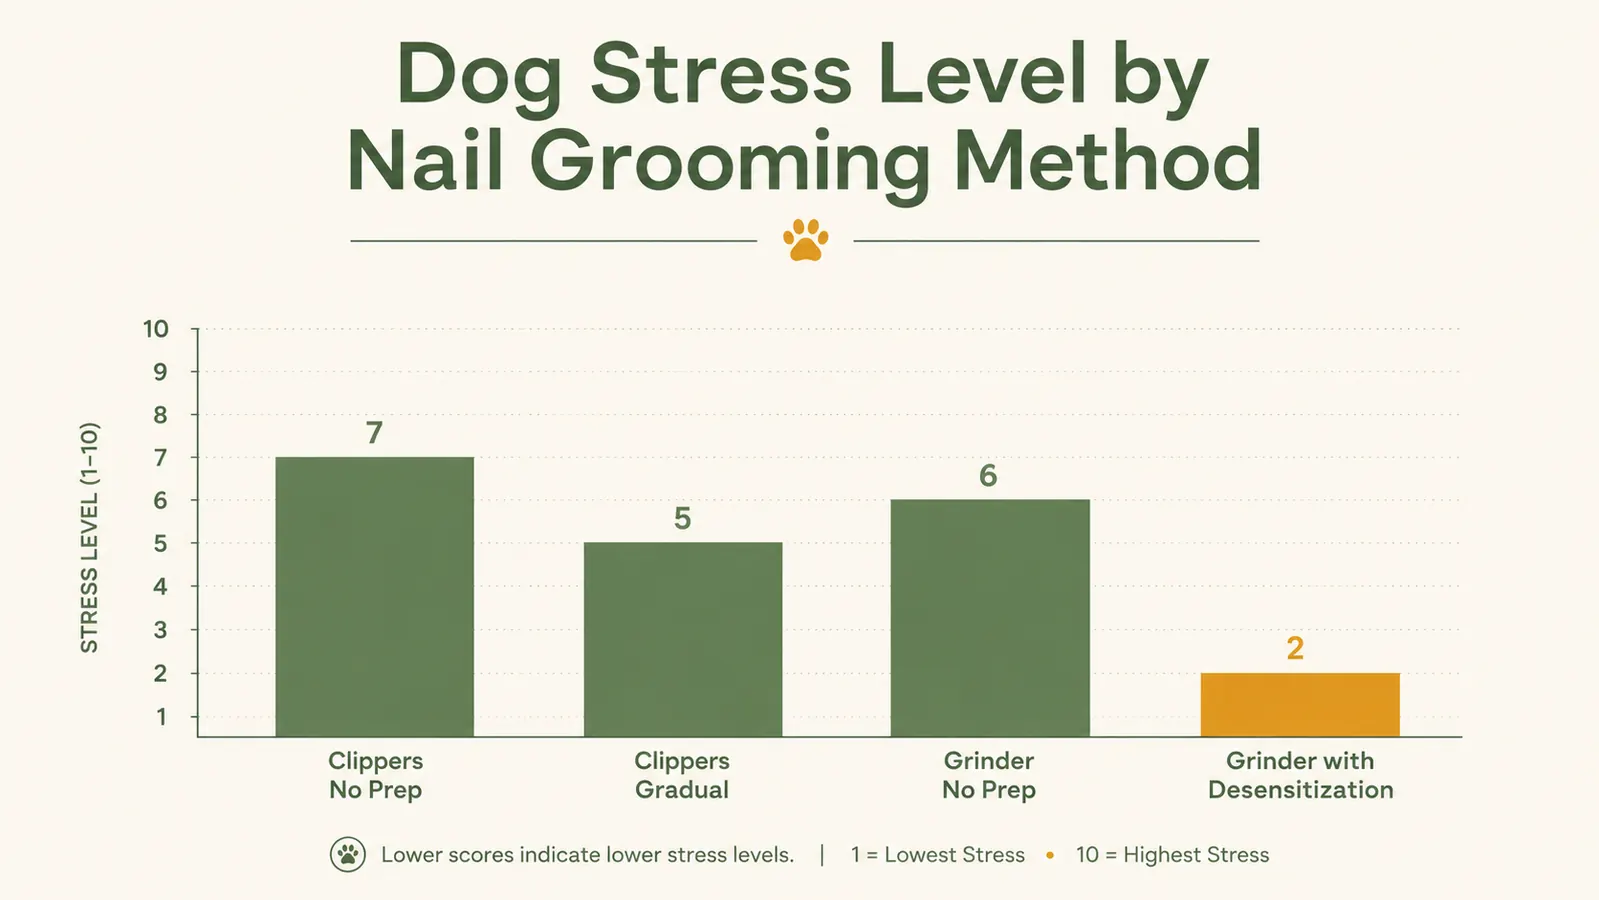
Otis has been noise-sensitive his whole life. A garbage truck two blocks away can send him under the bed, so when I first tried clippers on his nails at home, he acted like I was trying to disassemble him. After two quicking accidents and one session that ended with both of us shaking, I went back to what I knew from my years as a vet tech: the problem wasn't the nail trim itself. It was that I had skipped every step of the desensitization process and gone straight to restraining a terrified dog with a sharp tool. Switching to a nail grinder fixed the first problem. Working through a proper introduction fixed the second.
If your dog currently flinches, hides, or turns into a four-legged legal dispute at the sight of nail clippers, this guide is for you. I'm going to walk you through the exact method I use on Otis, now eleven years old and ninety-percent cooperative on his grinder sessions, and on Penny, my two-year-old lab mix who needed her own version of the same process. The tool I recommend for most home groomers is the Casfuy dog nail grinder, which has a two-speed whisper-quiet motor that I specifically chose because of Otis's sound sensitivity. It has over 100,000 Amazon reviews and a 4.4-star rating, and at under twenty dollars, it costs less than a single groomer visit.
Your dog's nails are already too long. Let's fix that without the fight.
The Casfuy nail grinder has a whisper-quiet motor specifically designed for noise-sensitive dogs. Over 100,000 pet owners use it. Check current availability on Amazon before you go through another clipper battle.
Amazon Check Today's Price on Amazon →Step 1: Desensitize Your Dog to the Sound Before You Touch a Single Nail
This is the step everyone skips, and it is the reason most dogs hate nail grinding. The sound of a rotary tool, even a quiet one, is genuinely unfamiliar to a dog. If the first time they hear it is also the first time you're pressing it against their paw, you've linked an alarming noise to an uncomfortable sensation before they've had a chance to decide the noise isn't a threat. That association sticks, sometimes for years.
For the first two sessions, don't grind anything. Just place the Casfuy grinder on the floor near your dog and let them sniff it. Feed treats near it. Pick it up, hold it, set it down. The goal is for the grinder to become a boring object in their world before it becomes a tool. On day three or four, turn it on from across the room while feeding high-value treats: something your dog only gets during this exercise, like a small piece of chicken or a lick of peanut butter. Watch their body language. Ears forward and tail at neutral means you can move it closer tomorrow. Ears flat or body stiff means stay at the same distance for one more session. There is no timeline. Otis took a full week of sound sessions before I moved to Step 2. Penny took three days.
Keep every sound session under five minutes. The moment your dog disengages or looks uncomfortable, end on a good note by tossing a treat and walking away with the grinder. You want the session to end before stress starts, not after. A dog that finishes the session in a neutral state is a dog that will be easier to work with tomorrow.
Step 2: Introduce the Grinder While It Is Running, Without Grinding
Once your dog is calm around the running sound, the next step is to let them feel the vibration without any pressure on the nail. Turn the Casfuy to its lower speed setting, hold it gently against the back of your hand so they can see and sniff it while it runs, then briefly touch it to the fur above their paw. Not the nail. Not the pad. The fur above the paw. Feed a treat immediately. Stop. That's the whole session for day one of this step.
Over the next few sessions, work the contact point closer to the paw pad and eventually to the side of a nail without the grinder making contact with the nail surface itself. Some dogs need three sessions to get here. Some need ten. The Casfuy's rubberized grip makes it easier to hold steady during this phase because you're not fighting a poorly balanced tool while also trying to manage a skeptical dog.
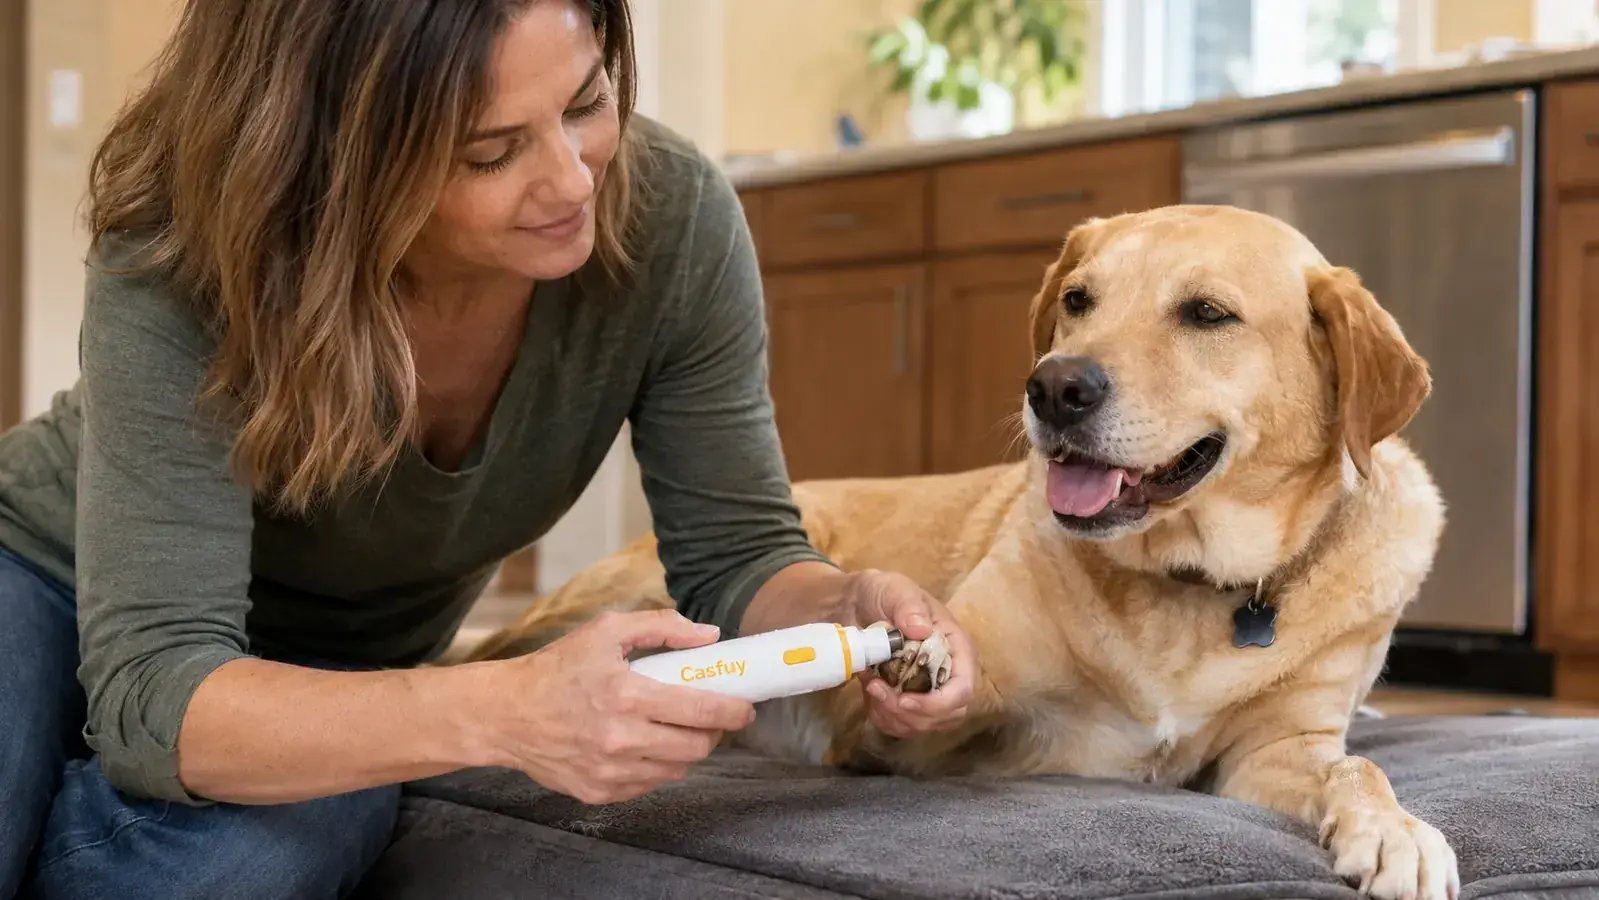
By the end of this step, your dog should be allowing you to touch the running grinder to their paw without significant pulling away or stress signals. If they are still flinching hard, stay at this step. Moving forward too soon is the number one reason dogs that seemed to be progressing suddenly regress. Patience here is not optional. It is the whole strategy.
Step 3: Get Your Paw Hold and Grinding Angle Right
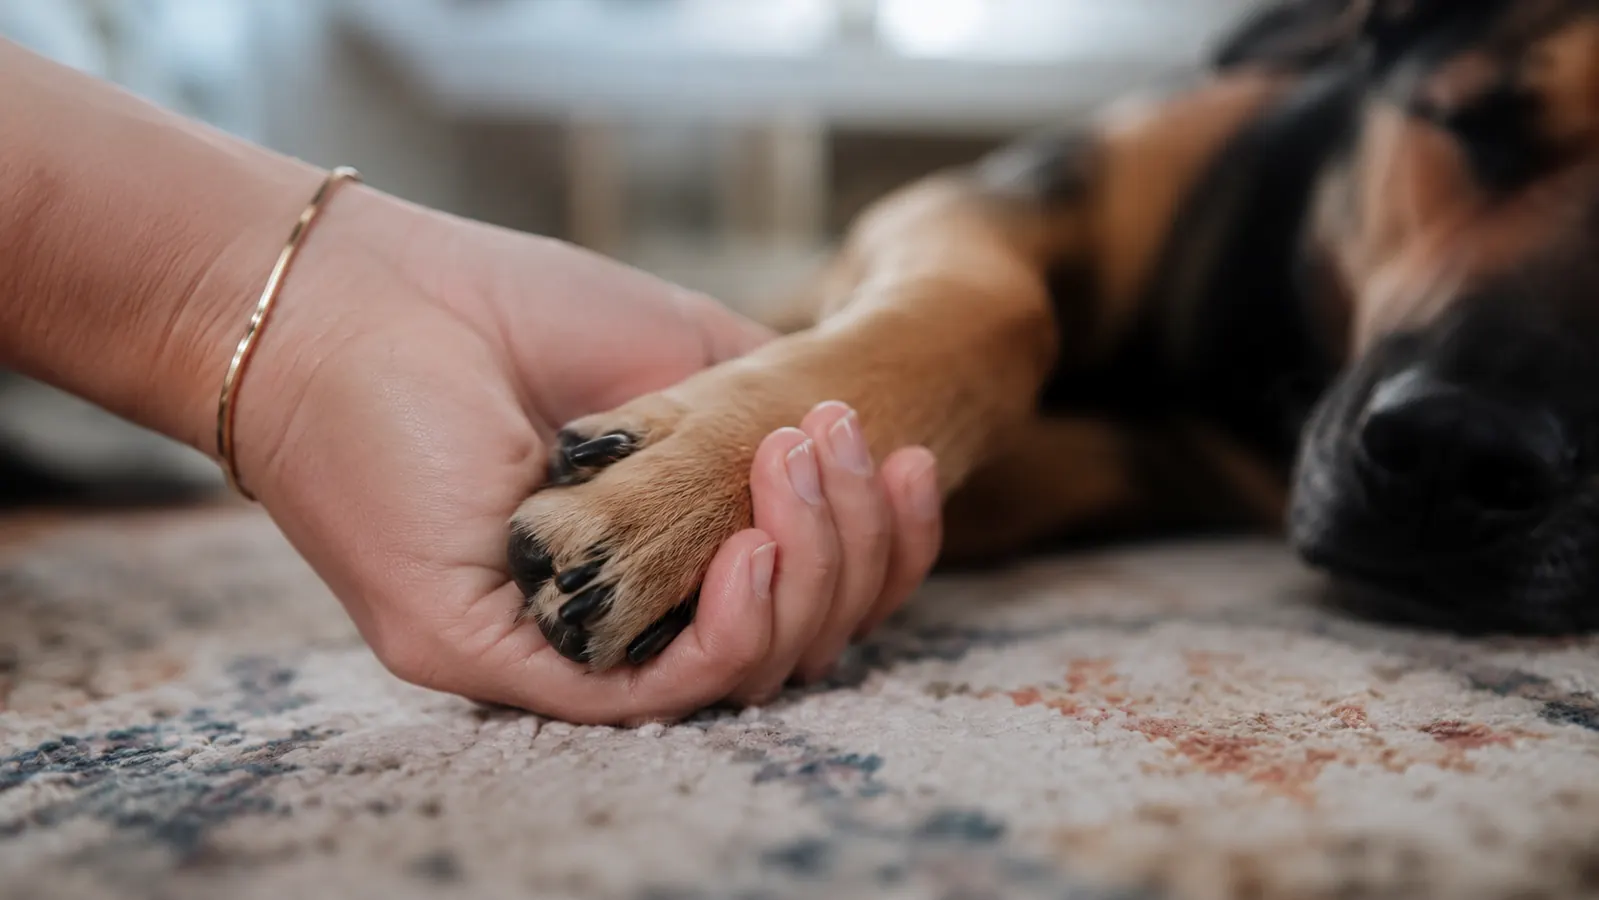
A proper paw hold matters more than most owners realize. When I worked at the clinic, we saw a lot of home grooming injuries that came from a dog yanking a paw mid-grind because the hold wasn't stable. The goal is a firm but not tight grip. For a front paw, sit beside your dog rather than in front of them. Have them either standing or lying on their side on a non-slip mat. Cup the paw from beneath with your non-dominant hand, separating the nail you're working on with your thumb and forefinger. For back paws, have the dog lie on their side and approach from behind, which reduces the chance they can see the tool and anticipate movement.
The grinding angle for most dogs is 45 degrees, approaching the nail tip from below and sweeping upward in a short arc. You are not pressing hard. The grit of the grinding band does the work. Excessive pressure just generates heat, which is uncomfortable and can cause the dog to associate the grinder with pain even if you never touch the quick. On the Casfuy, low speed is appropriate for small dogs, anxious dogs during their early sessions, and older dogs like Otis whose nails are thicker and need more patience. High speed is for confident large-breed dogs with thick nails once they're fully comfortable with the process.
Step 4: Understand How Much to Grind and How to Avoid the Quick
The quick is the blood vessel and nerve bundle inside the nail. In dogs with light or white nails, you can see it as a pink shadow when you hold the paw up to light. In dark nails, you're working by feel and visual cues from the end of the nail. As you grind, look at the center of the nail tip. When you start to see a small gray or pink oval appear in the center of the cut surface, stop. That oval is the pulp just above the quick, and it means you are close enough. Going further risks hitting the vessel.
For anxious dogs, especially in the early weeks of your grinding routine, take a conservative amount off each nail. A little less than ideal is always safer than going too far. Nails that get ground regularly every two to three weeks will naturally have a quick that recedes over time, meaning you can take more off as the months go on. Otis's quicks have receded noticeably over a year of regular grinding compared to his clipping years when we were always in a guessing game. I spend about five to eight seconds per nail on Otis and about three to four on Penny, whose nails are lighter and easier to read.
Keep styptic powder within reach for the first few months. Even experienced groomers nick a quick occasionally. Styptic powder stops the bleeding in under a minute and does not sting the way hydrogen peroxide does. If you do hit the quick, stay calm. Your dog is watching your body language. A sharp intake of breath and a tense posture from you will do more to set back your training progress than the nick itself. Apply the powder, offer a high-value treat, and let your dog decide whether they're done for the day. Respecting that signal keeps the trust intact.
Step 5: Use Treats Strategically and Build the Routine Into Your Week
The reward timing matters as much as the reward itself. Treats given after the session is completely over don't reinforce the grinding behavior, they reinforce the session being over. Treats given during, specifically immediately after each individual nail, tell your dog that the thing that just happened to that nail was safe and worth tolerating. For most dogs I work with, a small piece of boiled chicken or a lick-mat with a thin smear of peanut butter works better than commercial treats during nail sessions, because the novelty of a special food increases the positive association.
For the first month, don't try to do all four paws in one session unless your dog is relaxed and offering cooperation. Do the two front paws one day, take a break, do the back paws the next session. Once your dog is consistently relaxed through a full session, you can consolidate to one sitting. I do Otis's front paws and back paws in one session now, which takes about eight minutes including the treat breaks. Penny takes six. Neither dog requires restraint. That is entirely because I didn't rush the early steps.
Aim for every two to three weeks as your maintenance interval. Dogs that go longer between sessions develop nails that are harder to grind because the quick has grown forward, meaning you have to take off more to make a visible difference, which creates more session time, which creates more stress. Consistency is the most underrated part of at-home nail care. A short, easy session every two weeks is dramatically better for your dog's comfort, and for your nerves, than a longer stressful catch-up session every six weeks.
What Else Helps
Beyond the grinder itself, a few other things make a meaningful difference. A non-slip mat gives your dog a stable surface that reduces the anxious shifting and scrambling that comes from sliding on hardwood or tile. A short ten-minute walk before a grinding session burns off enough energy that most dogs settle more easily when you pick up the grinder. For extremely anxious dogs, asking your vet about a short-term calming supplement, not a sedative, just something like l-theanine or a melatonin option appropriate for dogs, can take the edge off during the early training weeks without dulling the dog's ability to form positive associations. And if you have a dog with very thick or deeply curved nails, a fresh grinding band on the Casfuy makes a noticeable difference. Worn bands generate more heat and less efficient removal, which extends session time and increases discomfort.
One thing I want to be honest about: some dogs need professional help. If after four to six weeks of consistent desensitization your dog is still in a full panic response at the sight of the grinder, that is not a training failure on your part. Some dogs have a fear history around handling that goes deeper than a home routine can address. A certified veterinary behaviorist or a fear-free certified trainer can get you tools that I can't give you in a how-to guide. The Casfuy works for the vast majority of dogs when introduced correctly. But knowing when to loop in a professional is also good pet care.
If you want a deeper look at how the Casfuy compares to other grinders on the market, including the Dremel, read our Casfuy nail grinder review where I break down six months of weekly use on Otis specifically. And if you're not sure a grinder is the right call for your dog yet, the article on 10 signs your dog needs a nail grinder can help you decide.
A short, easy grinding session every two weeks beats a long, stressful one every six. Nail length that seems tolerable is usually the quick creeping forward, making future sessions harder.
Ready to start? The Casfuy is the grinder I'd hand to every anxious-dog owner I know.
Two-speed whisper-quiet motor, a 6-port ventilation system to prevent overheating, and replacement grinding bands included. It has 4.4 stars across more than 100,000 reviews for a reason. Check the current price on Amazon and get started this week rather than waiting for the next groomer appointment.
Amazon Check Today's Price on Amazon →