
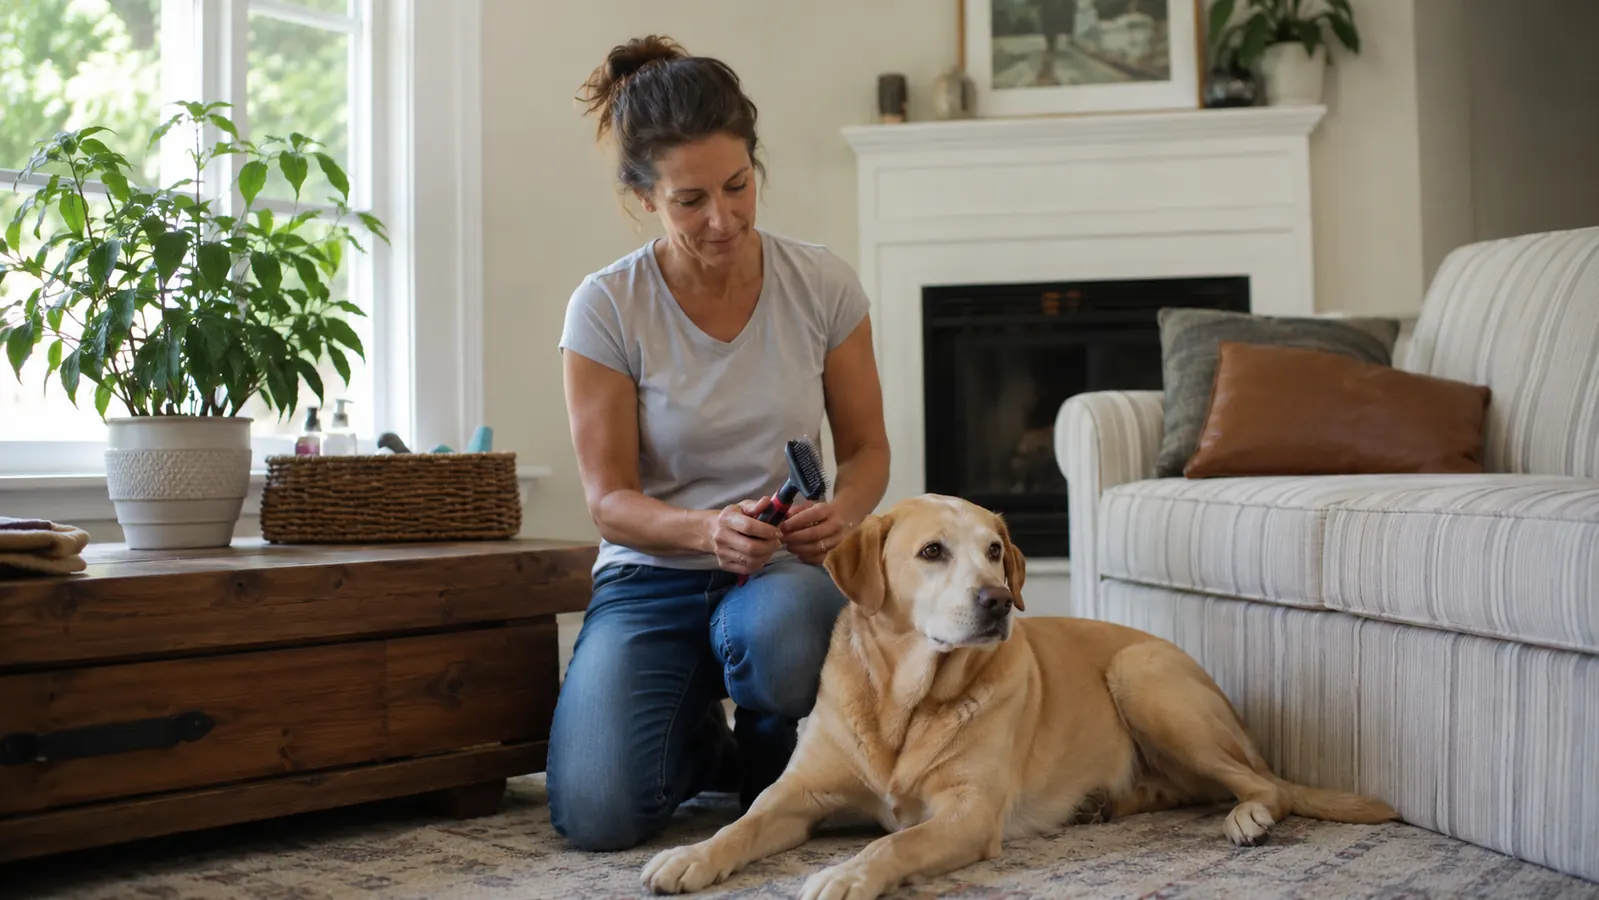
If you have ever finished brushing a heavy shedder and found loose fur on the couch, the walls, and somehow inside your coffee mug, you already know the core problem with traditional grooming: a regular brush loosens hair from the coat but scatters it into the air before it ever reaches a trash bag. Penny, my two-year-old lab mix, could fill a grocery bag with shed fur every single week, and no matter how carefully I brushed her, I always ended the session needing to vacuum the entire room. A pet grooming vacuum kit solves that problem at the source. The suction captures the hair as the attachment moves through the coat, so what you collect stays collected.
I spent three years as a vet tech before switching to writing, and in that time I watched a lot of owners come in requesting what amounted to professional deshedding sessions because they could not manage the volume of hair at home. Most of them were not doing anything wrong with their brushing technique. They just did not have a tool that could keep up with a dog that sheds year-round. A vacuum-integrated grooming kit changes the math significantly, but only if you use it correctly. The steps below are the exact routine I run on Penny, and the approach I would walk a client through if they called the clinic asking how to get started.
If you are starting from scratch, this is the kit I recommend for most home groomers
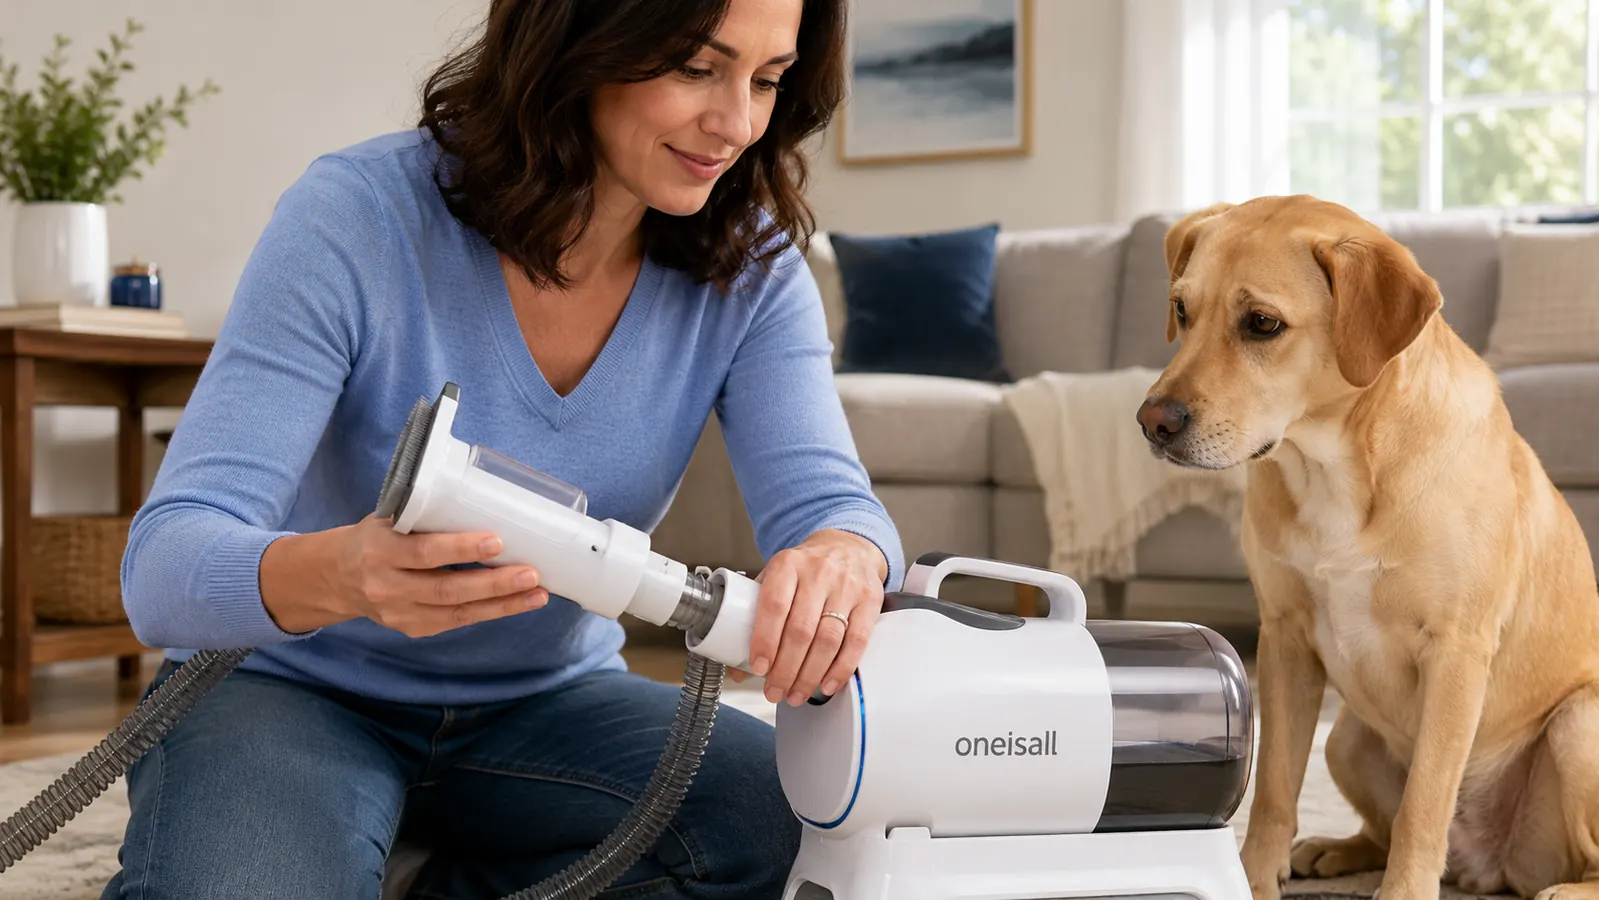
The oneisall Pet Grooming Vacuum includes 7 attachments, a 1.5L dust cup, and a variable-speed motor suited to short and medium coats. It is the same kit I use on Penny every other week.
Amazon Check Today's Price on Amazon →Step 1: Introduce the Vacuum Sound Before You Touch the Dog With It
This is the step most people skip because it feels like delay, and it is the single reason most dogs end up hating the grooming vacuum. A shop-vac or canister vacuum runs at a consistent roar, and most dogs have learned to tolerate it from a distance. A grooming vacuum runs closer to 60-65 decibels at low speed, which is quieter than many household vacuums, but the sound is unfamiliar and it is going to be right next to your dog's body. Unfamiliar plus close equals stress, even for a dog that seems easygoing.
Start the unit at its lowest speed setting in the same room as your dog while you do something mundane, no grooming involved. Let it run for five minutes while you sit on the floor, offer treats, and do nothing else. Do this for two or three short sessions across a couple of days before you ever touch the dog with an attachment. Penny went from a low-grade worried crouch to complete indifference after two sessions. Otis, my 12-year-old beagle who is nervous about most new things, needed four sessions before he would hold still while the unit was on. The time investment is small and the return is a dog that stands calmly instead of one that twists and bolts.
Once your dog is comfortable with the sound, hold the running unit near the dog's back without making contact, just the air movement from the intake. Reward calm behavior with a treat or praise. After another session or two of that, you are ready to make contact with the first attachment. If your dog is still reactive after five or six desensitization sessions, stop and consult your vet before proceeding. Some dogs have anxiety that needs addressing before any new grooming tool is introduced.
Step 2: Pick the Right Attachment for Your Dog's Coat
A kit with 7 attachments can feel overwhelming, but the logic is straightforward once you know what each category is for. The oneisall kit, which I use on Penny, ships with a deshedding brush, a grooming comb, a cleaning brush, a massage brush, a slicker brush, a flat nozzle, and a small cleaning nozzle. For a short to medium coat like Penny's, the deshedding brush is the primary workhorse and is where you will spend most of a session. It has wider teeth spaced to pull loose undercoat hair without scratching the skin.
For longer or denser coats, the grooming comb with its finer spacing does a better job of working through the outer coat before you move to deshedding. If your dog has a double coat, like a husky or a golden retriever, start with the grooming comb to detangle, then switch to the deshedding brush to capture the bulk of the undercoat. The slicker brush attachment works well for the face, chest, and around the ears because the softer pins cause less discomfort in sensitive areas. The flat nozzle is useful for doing a quick pass over furniture or car seats at the end of a session, not for direct grooming.
Step 3: Work in Sections With the Deshedding Attachment
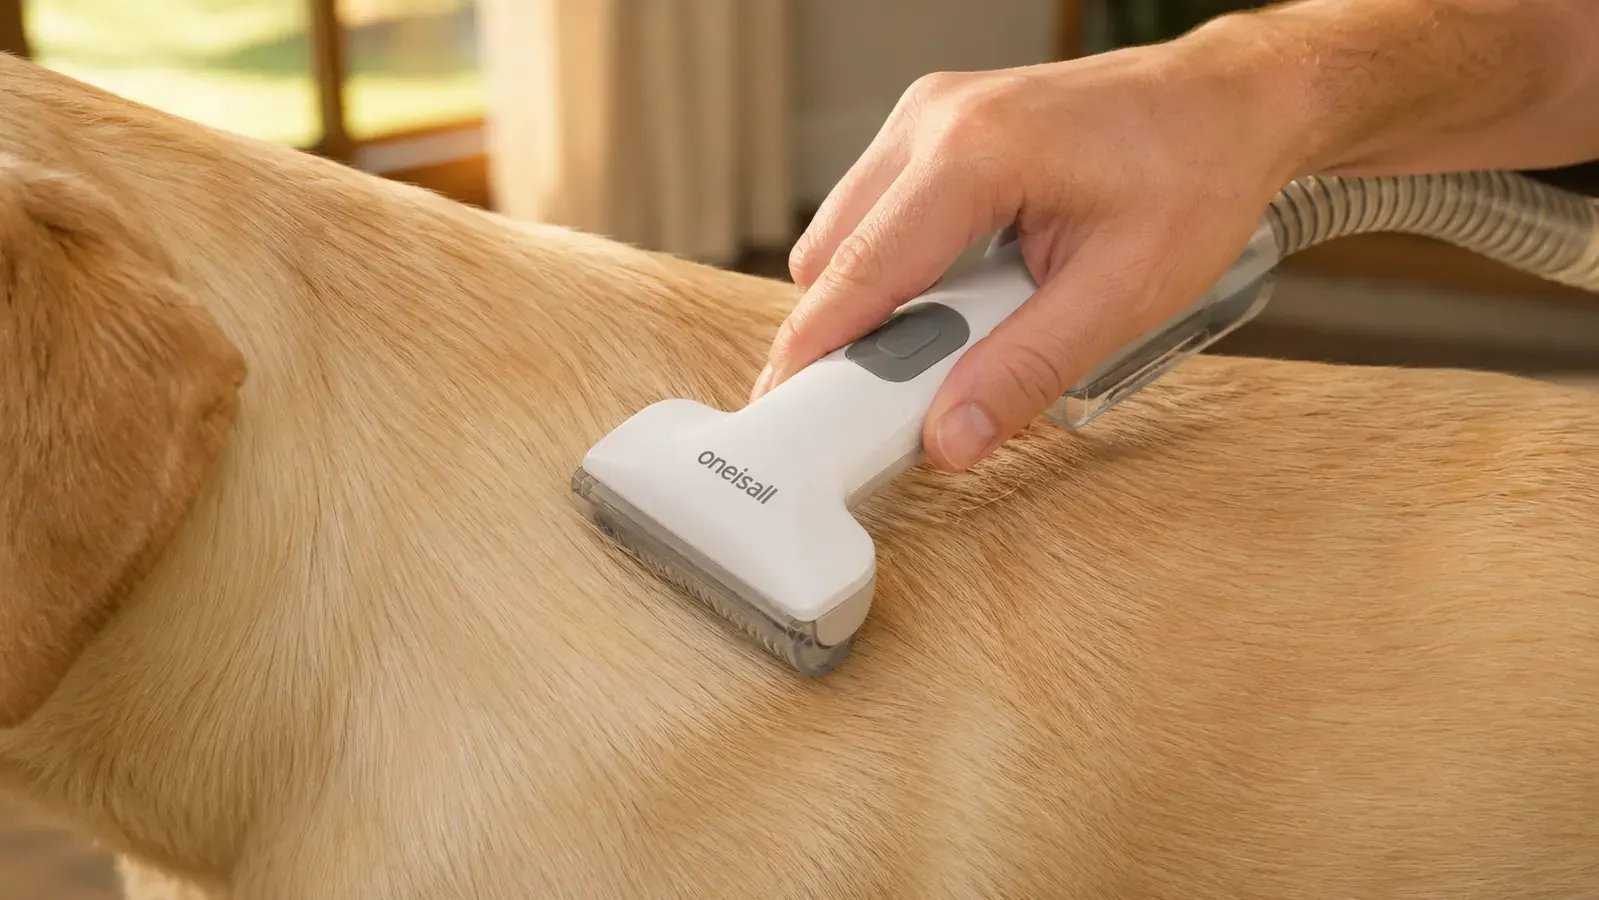
The most common mistake I see in first-time vacuum grooming sessions is treating the whole dog as one zone and running the attachment back and forth without a plan. You miss areas, double up on others, and tire out the dog before the session is done. Instead, divide the dog into four sections: the neck and chest, the back and sides, the hindquarters and tail, and the legs and paws. Work through one section at a time, moving the attachment in the direction of hair growth with steady, overlapping strokes. Move to the next section only when the attachment is pulling almost no hair from the current one.
Set the suction on medium for most of the body. Low suction is appropriate for the belly, where the skin is thinner and more sensitive. Avoid high suction on any area unless the coat is extremely dense and the dog is fully acclimated to the sensation. High suction against thin or sensitive skin is uncomfortable and can cause the dog to associate the tool with discomfort, which is exactly what you spent the desensitization sessions trying to prevent.
Work one section at a time in the direction of hair growth. Move on only when the attachment is pulling almost nothing from the current zone. Rushing through sections is how you miss the undercoat that actually causes the shedding problem.
Penny's full session at this pace takes about 20 minutes for her back and sides, 5 minutes for her chest and neck, and another 10 for her hindquarters and legs. Plan for 35 to 45 minutes total for a medium to large dog. Smaller dogs with short single coats can be done in 15 to 20 minutes. If your dog is getting restless before you finish all four zones, stop, reward, and come back in an hour or the next day. A partial session done well is better than a rushed full session that ends with a stressed dog.
Step 4: Empty the 1.5L Dust Cup and Clean the Filter
The oneisall's dust cup holds 1.5 liters of collected hair, which sounds like a lot until you run a full session on a lab mix in peak shedding season. Penny can fill the cup about two-thirds to three-quarters in a single 45-minute session during her spring and fall blowout. If the cup gets more than two-thirds full during a session, the suction noticeably drops. Stop, empty the cup into a trash bag, and continue. Do not try to push through a full cup. Reduced suction means the hair is not being fully captured and you are leaving coat cleanup work for your household vacuum to finish.
After every session, remove the filter and tap it gently over a trash can to dislodge fine hair particles that accumulate in the mesh. The filter on the oneisall is washable. I rinse mine under cool water every third or fourth session, then let it air dry completely for 24 hours before reassembling the unit. Running the vacuum with a wet filter damages the motor over time, so do not rush that drying step. A clean filter keeps suction consistent across sessions. If you notice suction has weakened even with an empty cup and a dry filter, inspect the hose for a hair clog near the attachment connection point.
Step 5: Finish With the Face, Paws, and a Treat
Face and paws are the last two zones because they require the most patience and the lowest suction, and most dogs tolerate them better once the rest of the body session is over and they have settled into the routine. Switch to the slicker brush attachment and drop the speed to low. Work around the cheeks, the top of the muzzle, and behind the ears with very short strokes. Do not bring the attachment close to the eyes or nose opening. If your dog has significant facial hair, like a doodle or a shih tzu mix, I would defer the face trim to a professional groomer rather than attempt it with a vacuum attachment.
For paws, use the small cleaning nozzle to pull loose hair from between the toes. Many dogs are sensitive about having their paws handled, so pause if your dog pulls away and give a treat before continuing. Two or three seconds of paw contact followed by a treat, repeated several times, is more productive than trying to hold the paw steady while the dog protests. End every session with a treat and calm praise regardless of how the session went. The dog needs to form a positive association with the kit being put away, not just with it being turned off mid-session.
What Else Helps
A vacuum grooming kit handles captured hair well, but a few complementary habits make the at-home routine more consistent. First, groom on a schedule rather than waiting until shedding becomes visible on furniture. For a heavy shedder like Penny, every other week keeps the volume manageable. For a lower-shedding dog, once a month may be enough. Second, a monthly bath with a deshedding shampoo before a grooming session loosens the undercoat and lets the vacuum attachment collect significantly more in the same amount of time. Third, diet matters more than most owners realize. A coat that is dull or excessively brittle sheds more than a coat supported by a diet with adequate omega-3 fatty acids. If your dog's shedding seems out of proportion to its size or breed, a quick conversation with your vet about diet is worth the call.
For dogs that are still anxious about the vacuum kit after the desensitization steps above, a gentle grooming mitt session in between vacuum sessions can maintain coat health without the stressor of the motor sound. The goal is not to force any single tool into the routine if the dog is genuinely distressed. You can get real shedding control through a combination of approaches. That said, most dogs that are introduced to the vacuum kit slowly and rewarded consistently accept it well within two to three weeks.
If you want a deeper look at how the oneisall kit performs over several weeks of regular use before committing, the full six-week testing notes are in my oneisall grooming vacuum review. And if you are on the fence about whether a vacuum kit is genuinely better than a standard deshedding brush for a heavy shedder, the side-by-side breakdown in 10 reasons a pet grooming vacuum beats a brush lays out the difference in practical terms.
Ready to run this routine? The oneisall kit is where I would start.
Seven attachments, a washable filter, a 1.5L dust cup, and quiet enough that most dogs acclimate within a week. If your dog sheds year-round and you are tired of loose hair following every brushing session around the house, this kit addresses that problem directly.
Amazon Check Today's Price on Amazon →