
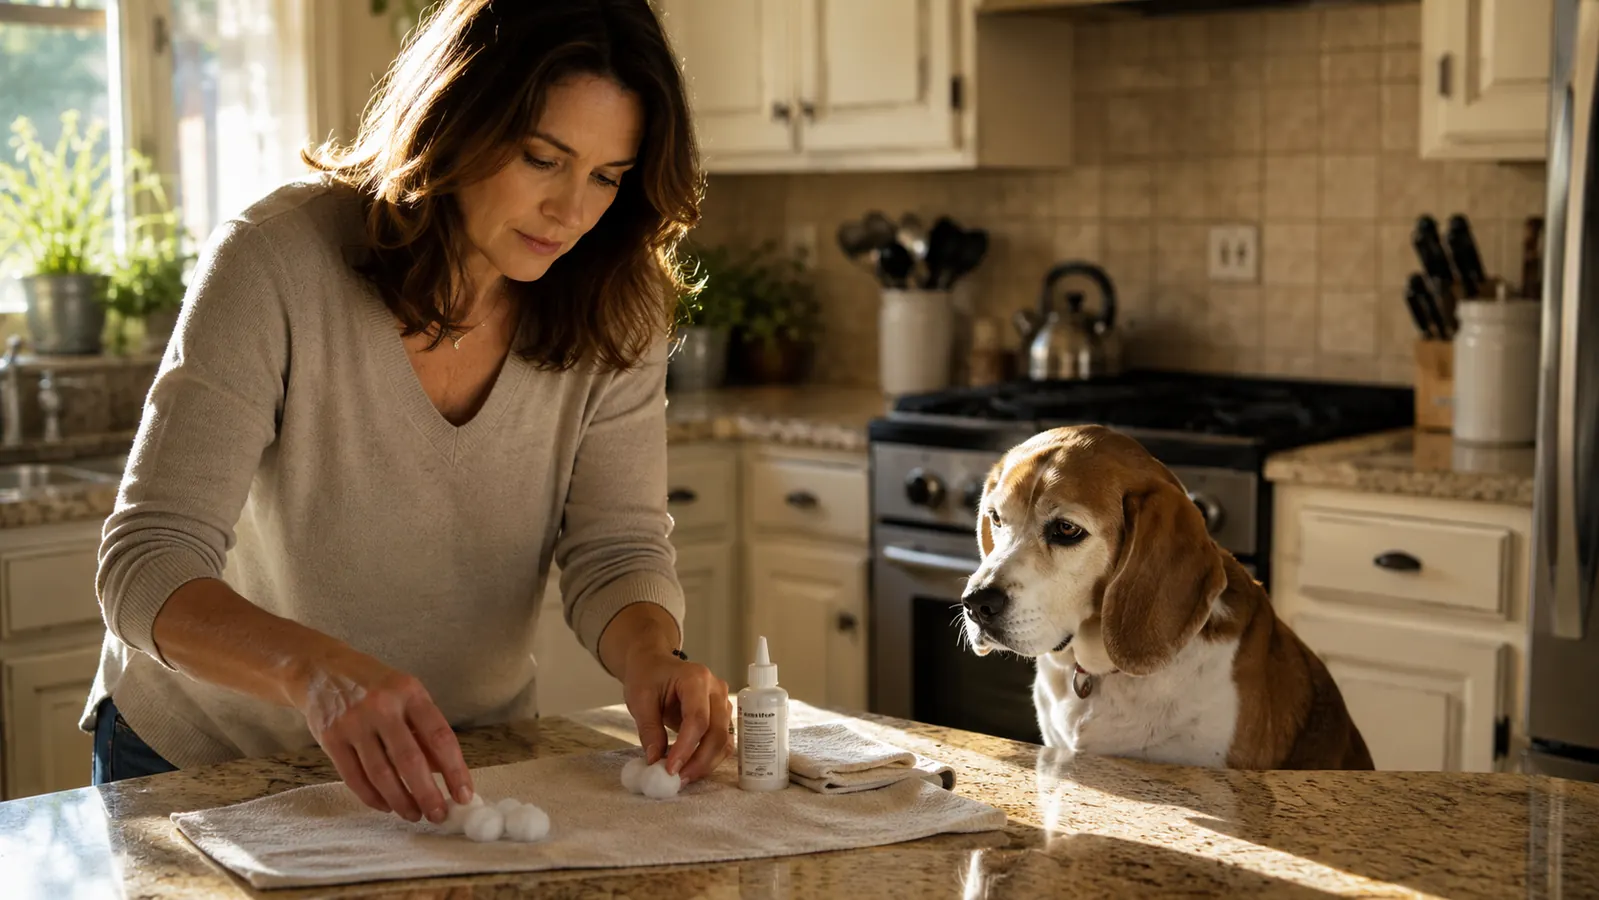
Otis has floppy ears, which means the inside of each ear canal sits warm and dark and still, exactly the environment yeast loves. I learned that as a vet tech before he was even born. What I did not fully appreciate until I owned a beagle myself is how quickly a clean ear can turn into a problem when you skip a week or two of maintenance. I have spent the last three years refining an at-home cleaning routine for Otis using Virbac Epiotic, the same ear cleanser my vet clinic stocked, and this guide is the honest version of that routine.
Before we get into the steps, one thing needs to be said clearly: ear cleaning at home is hygiene, not medical treatment. If your dog is shaking his head constantly, pawing at his ear, holding it tilted to one side, or if you can see redness, swelling, or a dark thick discharge, those are signs of an infection or something deeper. Stop, skip the at-home cleaning, and call your vet. Cleaning an already infected ear can push debris further in and make things worse. The steps below are for a dog whose ears look and smell roughly normal but need routine maintenance.
The cleaner our vet clinic stocked for years is now easy to order for home use.
Virbac Epiotic Advanced Ear Cleanser is the same formula most vet offices recommend for routine maintenance. It has a low pH that discourages yeast and bacteria without irritating the canal lining.
Amazon Check Today's Price on Amazon →Step 1: Gather Your Supplies and Check for Red Flags
You need four things: a quality veterinary-grade ear cleanser, cotton balls or gauze squares, a good light source, and a steady hand. That is the entire supply list. Do not add cotton swabs to it. I will say that once and only once here: cotton swabs should never go deeper than the visible outer flap. In a dog's ear canal, they compress debris instead of removing it and can rupture the eardrum if the dog moves. Cotton balls and gauze wraps around a finger give you safe reach without the risk.
Before you open the bottle, look at the ear under a bright light. You are checking for five things: redness along the visible canal walls, swelling that narrows the canal opening, a dark brown or black discharge that looks like coffee grounds (which often signals yeast or ear mites), a smell that is sharp or sour rather than just earthy, and any sign that your dog flinches when you touch the outer ear. Any one of those means this cleaning session does not happen today. Make the vet call instead. If the ear looks pink and healthy, smells faintly earthy at worst, and your dog tolerates you lifting the flap without pulling away, you are clear to continue.
Pick a location where shaking is not a disaster. I do Otis in the bathroom with the door closed and the shower curtain pulled back a little. He shakes, every single time, and the solution that sprays out is not pretty. Outdoors works too if the weather cooperates. Put a towel down on the floor for traction. Otis sits better when his paws are not sliding.
Step 2: Fill the Ear Canal With Epiotic
Hold the ear flap up and back gently, which straightens the L-shaped canal and gives the cleanser a clear path down. Tip the Virbac Epiotic bottle and let the solution run into the canal opening. You want to fill it generously. Most people use too little, which means the cleanser never reaches the horizontal part of the canal where debris actually accumulates. For a dog Otis's size (he is about 28 pounds), I use roughly half a capful, which is somewhere around 3 to 4 ml per ear. For a large breed, you would use more.
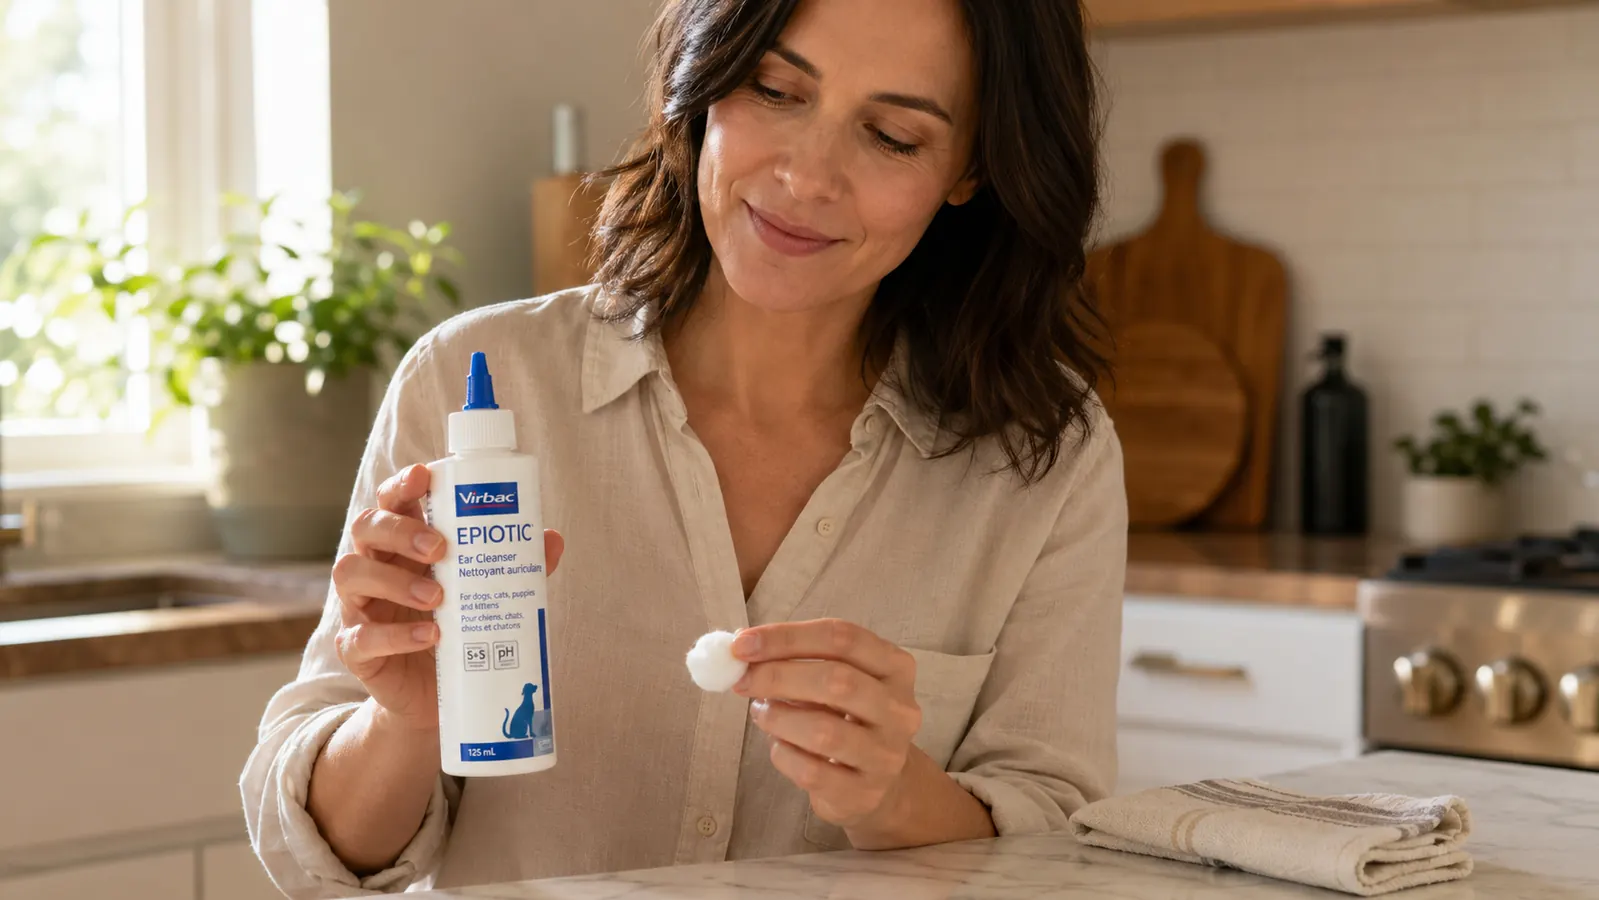
Do not insert the bottle tip into the canal itself, just rest it at the opening. Epiotic is designed to be safe even if a small amount gets past the eardrum, but you still want to deliver it to the outer portion and let gravity and massage carry it down. The formula uses a low, acidic pH that creates an inhospitable environment for yeast and bacteria, which is why it works for maintenance rather than requiring a harsh antimicrobial that would need a prescription.
If your dog pulls away when the cold solution hits the canal, you can warm the bottle slightly by holding it in your hands for a minute or running the outside under warm tap water before you start. Otis did not care about the temperature after the first few sessions, but the first time he startled and I lost half the bottle on the floor.
Step 3: Massage the Base of the Ear for 30 Seconds
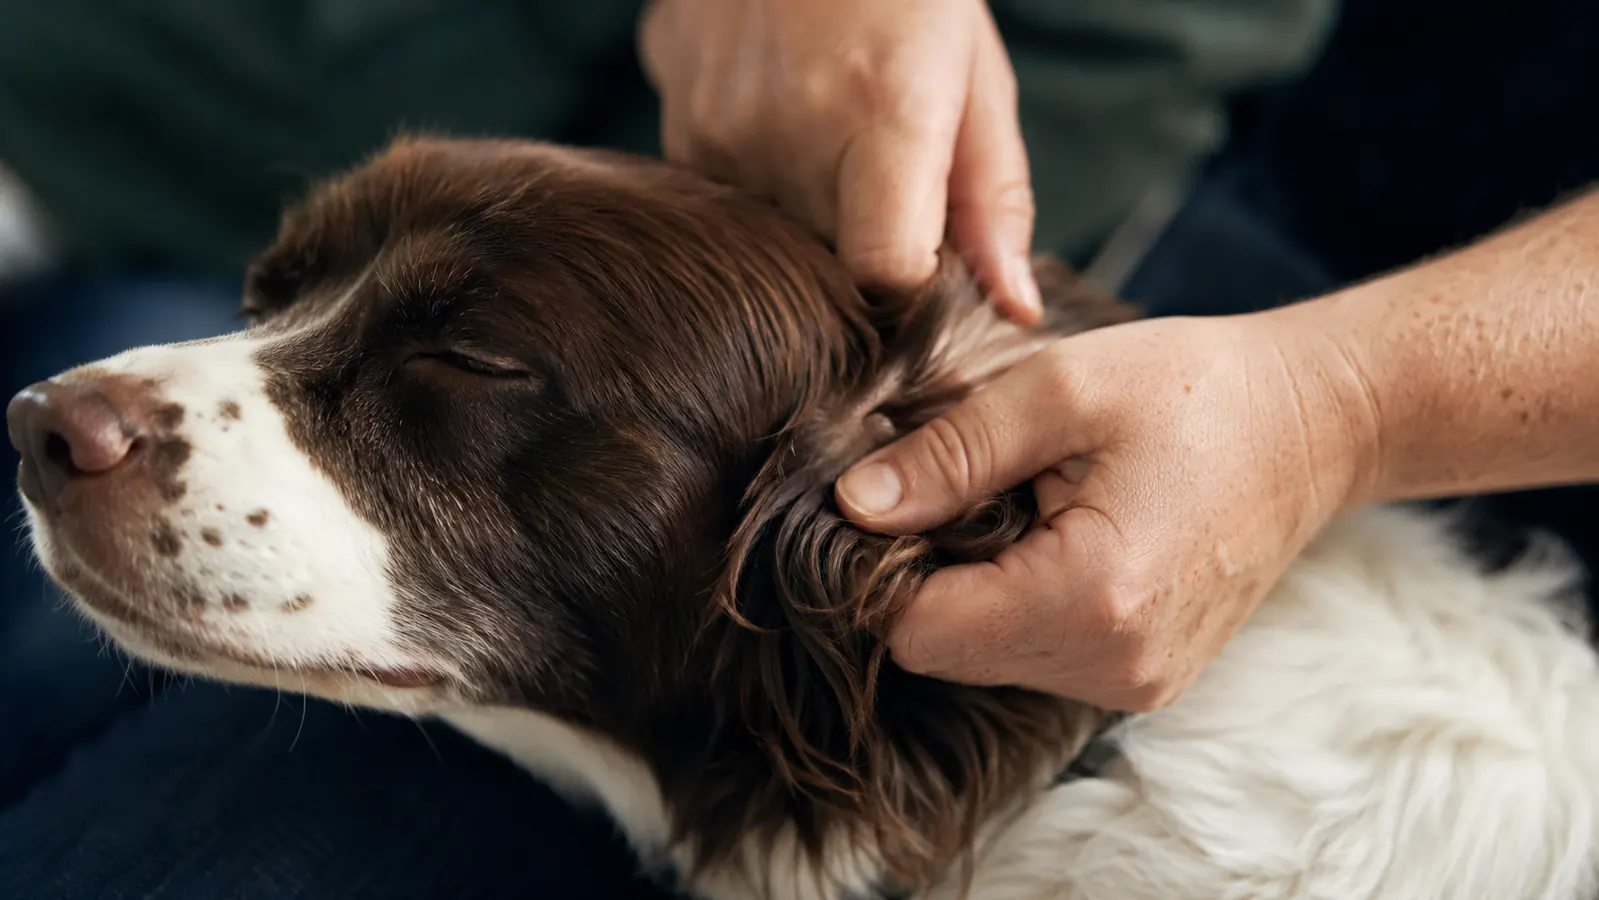
This step is the one most people rush, and it is the most important one in the whole routine. Keep the ear flap folded up, reach down to the base of the ear where the cartilage meets the skull, and massage gently in small circular motions. You are trying to work the solution all the way down into the horizontal canal and loosen the debris that has accumulated there. If you are doing it right, you will hear a wet, squishy sound. That sound is the cleanser moving.
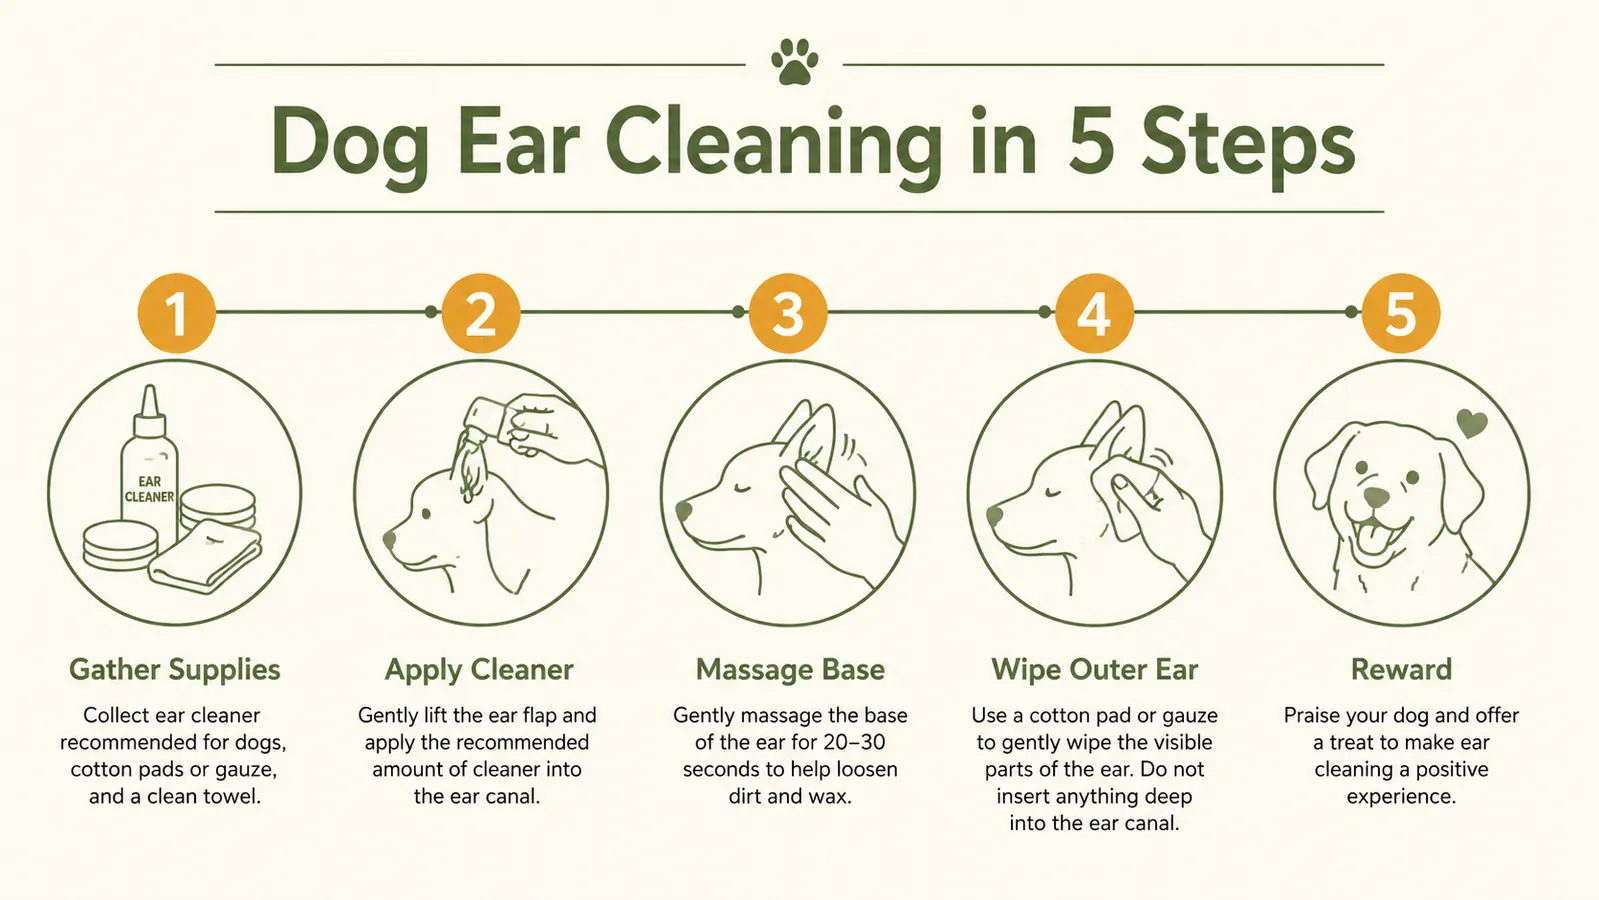
Thirty seconds per ear is the minimum. I usually go closer to 45 with Otis because his canals accumulate more debris than an average dog. The massage also has a secondary benefit: most dogs find it feels good. Otis leans into my hand now. In the beginning he wanted no part of it, and I had to build up to it over several weeks by touching his ears without cleaning them and pairing that with a small treat. If your dog is resistant, start with shorter sessions and work up gradually rather than forcing the full routine all at once.
Step 4: Let the Dog Shake
Release the ear flap and step back. Your dog is going to shake, hard. Let it happen. The shake is doing real work: the centrifugal force throws debris and loosened wax up and out of the canal where you can reach it. Trying to stop the shake or wiping immediately after the massage means you are cleaning before the solution has a chance to bring the debris up to the surface. I know it is messy. That is why the bathroom.
After the shake, look at the ear again with your light. You will often see dark debris now sitting in the outer bowl of the ear, the part you can see without instruments. This is normal. It is the stuff that needed to come out. Repeat the fill-and-massage cycle one more time on the same ear if the debris looked heavy. On a routine cleaning with Otis, one cycle per ear is usually enough. If I have let the schedule slip by two or three weeks, I will do two cycles.
Step 5: Wipe the Outer Ear With a Cotton Ball, Never a Swab Deep in the Canal
Take a dry cotton ball or a folded gauze square and gently wipe out the visible bowl of the outer ear. You are only working in the area you can clearly see. This is not the time to push deeper. What you want to remove is the debris that shook loose and landed in the outer portion of the canal and on the flap itself. One or two cotton balls per ear is typical. If the third cotton ball comes out clean, you are done. If it is still heavily soiled, do one more rinse cycle.
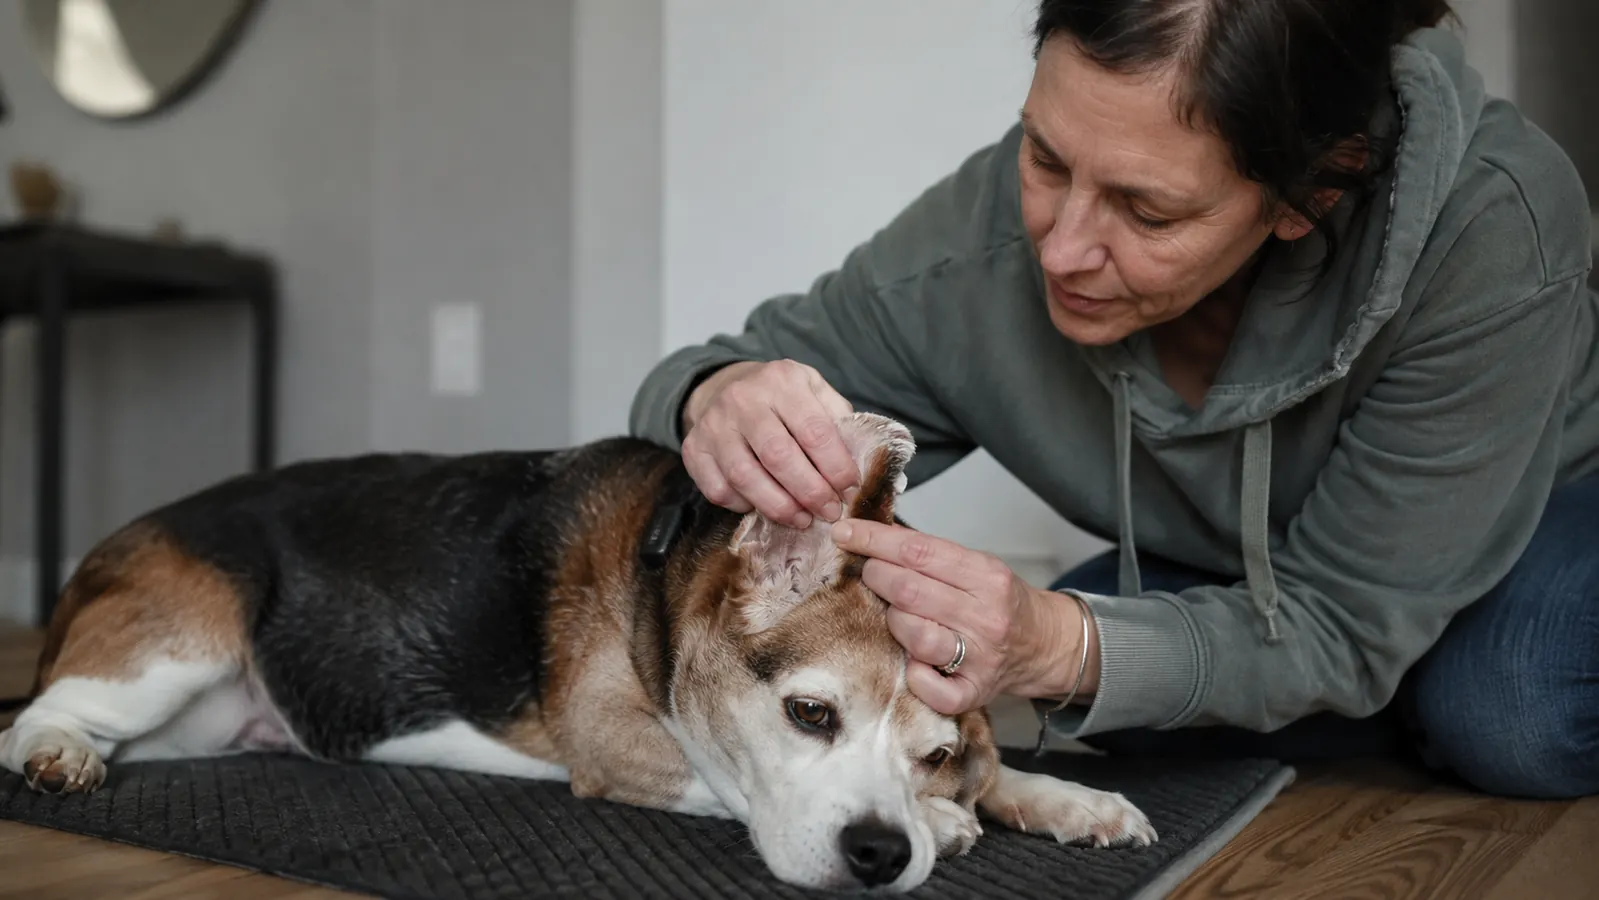
Wipe the inner surface of the ear flap as well. A lot of debris and oil accumulates there and is easy to miss. Finish with a dry cotton ball to blot any remaining moisture. Epiotic has drying agents built in, so you do not need to do anything elaborate after wiping. The formula helps the ear dry from the inside out. For Otis, the whole session from cap removal to final wipe takes about six minutes per ear.
After you finish both ears, give your dog something good and end the session on a positive note. Otis gets a small piece of freeze-dried chicken. He now trots to the bathroom when I pick up the Epiotic bottle, which is about the best sign I can think of that the routine is working.
What Else Helps Keep Ears Clean Between Sessions
Frequency matters as much as technique. For dogs with upright ears and no history of ear issues, every four to six weeks is often enough. For dogs with floppy ears, dogs who swim regularly, or dogs who have had recurring yeast problems like Otis, once a week is a reasonable maintenance schedule. Your vet can tell you what interval makes sense for your specific dog based on their anatomy and history. I do Otis every Sunday evening, and in two years on that schedule we have had one vet visit for ear-related issues rather than the monthly visits we were doing before.
After swimming or bathing, do a quick maintenance clean regardless of where you are in your regular schedule. Water sitting in the canal after a swim creates the same warm, moist conditions that encourage yeast. You do not need a full two-cycle cleaning after every swim. A generous fill of Epiotic, a good massage, and one wipe is usually enough to flush out the water and dry the canal.
Diet can also play a role in chronic ear issues, though that is a longer conversation worth having with your vet. Some dogs with recurring yeast infections see improvement when food sensitivities are addressed. I mention it because if you are cleaning consistently and properly and still seeing dark debris or smell every single week, that is a signal to dig deeper rather than just clean more often.
The ear canal is not somewhere to be aggressive. Your job at home is to keep the outer portions clean and the environment inhospitable to yeast. Everything else belongs to the vet.
Learn what your dog's clean ear looks and smells like, so you can recognize when something has shifted. A healthy ear has a faint earthy smell at most, pink walls, and a small amount of light-tan wax. Anything darker, more pungent, or accompanied by sensitivity to touch is your signal to stop cleaning and start calling. The five steps above work because they are gentle and systematic. None of them require special training. What they do require is that you know when to hand the problem off.
If you want to go deeper on the signs that mean your dog's ears need attention beyond routine cleaning, the guide on warning signs covers each one in detail, including what the different types of discharge look like and what they typically indicate. And if you are deciding which ear cleanser belongs in your cabinet, the full Epiotic review covers the formula, the alternatives, and who it makes the most sense for.
If you are going to do this weekly, you want a formula that is gentle enough not to irritate and effective enough to actually matter.
Virbac Epiotic Advanced Ear Cleanser is the same product most vet clinics keep on their shelves for routine ear maintenance. It dries the canal as it cleans, which makes it well-suited for floppy-eared dogs and regular swimmers.
Amazon Check Today's Price on Amazon →